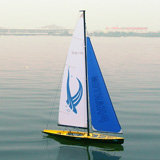
Modifications to Mainsheet
Fairlead on the
Phantom Yacht
Mainsheet fairlead
The
issue here is that when viewed from the side of the yacht, the
jib sheet fairlead is directly under the jib boom fitting where
the sheet is attached or fed through. The main fairlead is
at least 70mm behind the equivalent position on the main boom.
This is clearly done because the area where the fairlead ought to be
is the deck opening or hatch cover. This leads to
incorrect geometry for allowing the main boom and the jib boom
to move out together and end up both at right angles to the
hull. A variety of methods can be employed to correct this
situation.
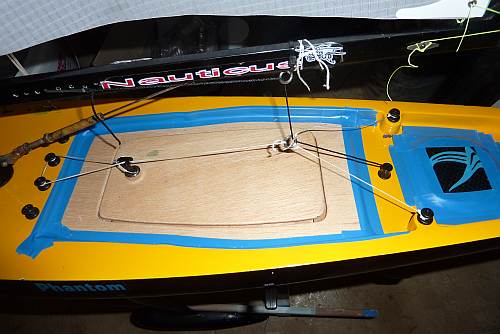 One is
to use a system of three cords and a ring adjusted so that the
ring is directly under the main boom attachment point. The
disadvantage of this is its a little tricky to adjust and the
ring is not supported in a vertical sense very well and can move
up and down changing the boom angle. It is easily removed
providing access to the hatch area.
One is
to use a system of three cords and a ring adjusted so that the
ring is directly under the main boom attachment point. The
disadvantage of this is its a little tricky to adjust and the
ring is not supported in a vertical sense very well and can move
up and down changing the boom angle. It is easily removed
providing access to the hatch area.
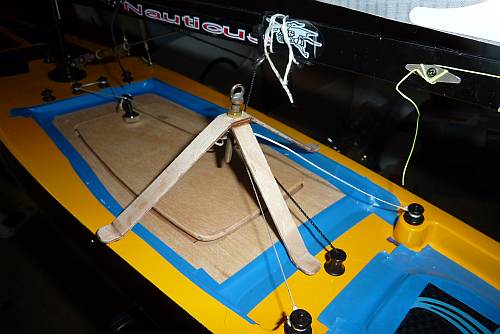 Another method is to use a solid bridle or rod with a ring at the
end to feed the mainsheet through. Again because of the
hatch, fitting a rod is difficult as it would have to be angled
well forward from a solid deck are passing through the deck and
secured - glued - to the hull floor. The bridle is the
easiest choice made of aluminium or thin ply and secured at the
deck either side of the and on the floor of the deck behind the
hatch. The one shown is ply reinforced with a layer of
carbon fibre rovings on the underside. Small self tapping
screws would hold the bridle as the forces are mostly sideways.
Another method is to use a solid bridle or rod with a ring at the
end to feed the mainsheet through. Again because of the
hatch, fitting a rod is difficult as it would have to be angled
well forward from a solid deck are passing through the deck and
secured - glued - to the hull floor. The bridle is the
easiest choice made of aluminium or thin ply and secured at the
deck either side of the and on the floor of the deck behind the
hatch. The one shown is ply reinforced with a layer of
carbon fibre rovings on the underside. Small self tapping
screws would hold the bridle as the forces are mostly sideways.
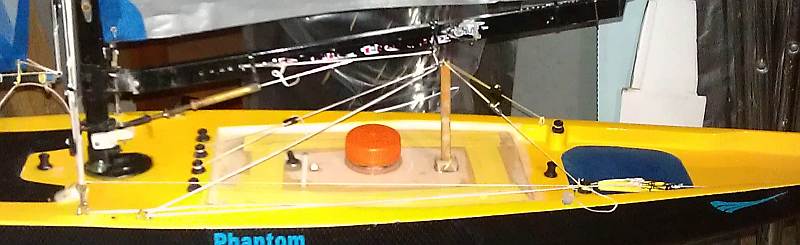
In
the end, the method I have settled on is to use a wooden rod
held vertically beneath the sheeting position by making a small
wooden dam to support the base of the rod on the hatch cover and
held in place by three lines tensioned with bowsies. A
ring is used at the connection point at the top of the peg for
the supporting lines and also serves as the ring through which
the main sheet passes. The top of the rod is grooved so
that the ring lies firmly and the lines lead cleanly away.
This has the advantage of being easily removed from the hatch by
loosening the bowsies and removing the forward line which is
just looped around two of the cleat fittings in front of the
hatch cover. The rear two lines are tied more permanently
to the two rear cleats so the whole fitting does not become lost
and is readily replaced. The screw cap seen in the image
below allows access to a plug connected to the battery which
allows it to be charged without dismantling the whole
arrangement. This is OK as the yacht no longer leaks yet
allows the hull to be aired through the open cap hole. The
screw cap is from a small fruit juice bottle where the neck is
cut off and glued to the hatch cover.
page
last edited on
14/09/2025